Cleaning the grease from a kitchen exhaust fan is an essential task for maintaining your kitchen’s air quality and safety. Over time, grease can accumulate on the fan’s filters and blades, leading to reduced efficiency and even fire hazards. In this guide, we’ll walk you through a step-by-step process on how to clean kitchen exhaust fan grease effectively. From gathering the necessary supplies to reassembling the fan, we’ll ensure you can tackle this task with confidence and keep your kitchen exhaust fan running smoothly.
Understanding The Fan Grease Buildup
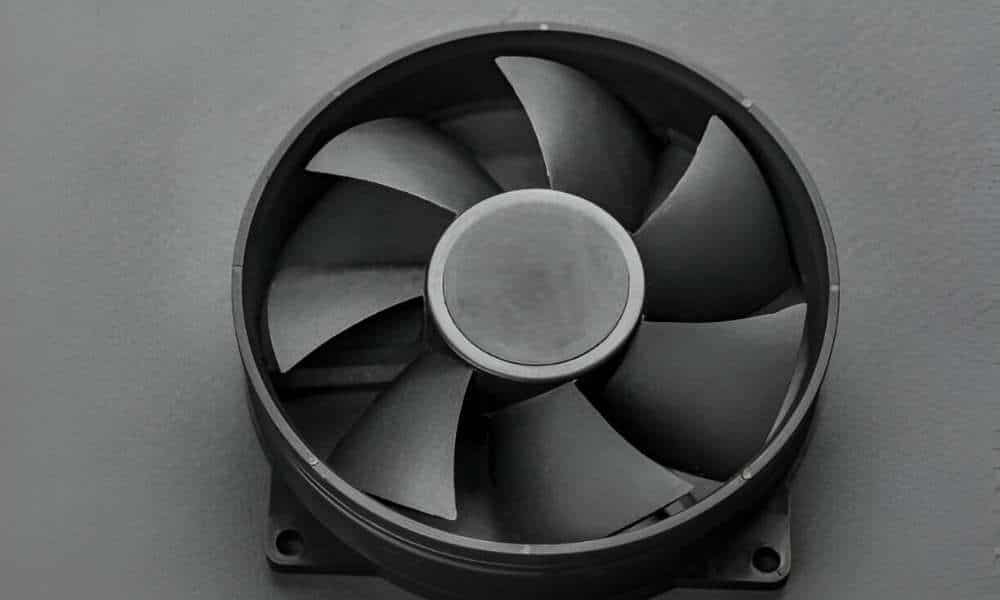
Understanding the exhaust grease buildup in your kitchen is crucial for maintaining a clean and safe environment. Over time, the grease that accumulates on the ventilator blades and surfaces can hinder its efficiency and pose a fire hazard. To effectively clean the kitchen exhaust, it is important to use appropriate cleaning products and techniques. One effective method is to use a degreaser specifically designed for kitchen appliances to break down and remove the grease buildup.
Why Cleaning Kitchen Exhaust Fan Grease Is Crucial
Regularly cleaning kitchen exhaust grease is crucial for safety and optimal kitchen functionality. The accumulation of grease in the fan and ducts poses a fire hazard, with grease easily igniting during cooking. Cleaning minimizes this risk, ensuring a safer kitchen environment. Additionally, a clean kitchen ventilation fan prevents compromised indoor air quality, reducing unpleasant odors and minimizing respiratory issues. It also enhances the fan’s efficiency, effectively removing cooking odors, smoke, and steam. In essence, maintaining a grease-free exhaust ventilator is essential for a safe, healthy, and efficiently functioning kitchen.
Tools And Materials Needed For Cleaning
1. Screwdriver
2. Bucket
3. Warm water
4. Dish soap or degreaser
5. Baking soda
6. Soft-bristle brush or sponge
7. Microfiber cloth
8. Vacuum cleaner with nozzle attachment
Here Are Some Step-By-Step Guide To Clean Kitchen Exhaust Grease
Step 1: Power Off and Disconnect
When it comes to cleaning kitchen fan grease, powering off and disconnecting the appliance is essential for safety. Unplugging the unit from the power source not only protects you from electric shock but also prevents any accidents while cleaning. Without power, you can focus on removing built-up greases effectively without any distractions.
Step 2: Remove The Fan Cover
Most ventilation fans feature removable covers designed to protect the fan blades. Carefully remove the cover by unscrewing or unclipping it from the fan housing. Place the cover on a flat, easily accessible surface where you can effectively work on its restoration.
Step 3: Soak The Cover
Prepare a basin or sink with warm water and add a few drops of dish soap or a specialized degreasing agent. Submerge the ventilator cover in the soapy water, allowing it to soak for 15-20 minutes. This soaking period facilitates the loosening of grease, making it easier to remove during the subsequent cleaning steps.
Step 4: Clean The Blades
While the cover is soaking, turn your attention to the fan blades and the interior of the ventilator housing. Use a damp cloth or sponge to wipe down these components gently. Employ a vacuum with a brush attachment to remove any loose dirt and debris, ensuring a thorough cleaning process without causing damage to the ventilator blades.
Step 5: Scrub The Cover
Following the soaking period, utilize a soft-bristled brush or sponge to scrub the ventilator cover. Pay careful attention to crevices and grooves where grease may have stubbornly accumulated. For more resilient stains, consider creating a paste using baking soda and water, and applying it to the cover for enhanced cleaning power.
Step 6: Rinse And Dry
Once the cover has been scrubbed and cleaned, rinse it thoroughly with clean water to eliminate any residual soap. Use a clean towel or paper towels to meticulously dry the cover, ensuring no moisture remains before reassembling.
Step 7: Reassemble And Test
With the clean cover in hand, carefully reattach it to the fan housing, ensuring a secure fit. Plug the fan back into the electrical outlet and turn the power on at the circuit breaker. Test the ventilator to ensure it operates smoothly and quietly, signaling the success of your cleaning efforts.
Reed More: How To Sharpen Kitchen Knives
Conclusion
Regular maintenance and diligent cleaning of your kitchen exhaust fan are fundamental practices to preserve optimal air quality and prevent potential fire hazards. By adhering to this comprehensive guide, you can elevate your cleaning routine, ensuring that your fan operates efficiently and remains a vital component in maintaining a healthy and safe cooking environment. Schedule routine cleanings to extend the lifespan of your ventilator and enjoy a consistently fresh kitchen ambiance.