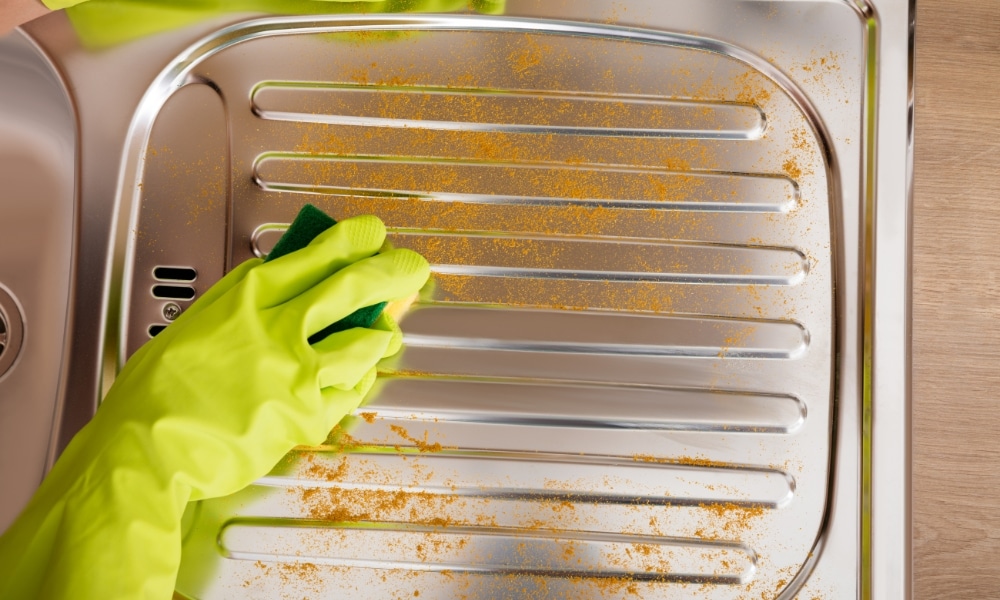
Stainless steel sink Clean are a popular choice for kitchens due to their durability, sleek appearance, and resistance to rust and corrosion. However, to keep them looking their best, regular cleaning and maintenance are essential. In this guide, we’ll walk you through the best practices for cleaning a stainless steel sink, ensuring it remains sparkling and free from stains and odors.
Why Regular Cleaning Matters
Regular cleaning not only maintains the aesthetic appeal of your stainless steel sink but also prevents the build-up of grime, bacteria, and stains. Over time, food particles, grease, and hard water deposits can accumulate, leading to an unsightly and unhygienic sink. By incorporating simple cleaning habits into your routine, you can extend the life of Remove A Sink Stopper and maintain a hygienic kitchen environment.
Essential Cleaning Supplies
Before you begin cleaning your stainless steel sink, gather the following supplies:
- Mild dish soap: A gentle cleaner for everyday use.
- Baking soda: A natural abrasive that helps remove stubborn stains.
- White vinegar: Excellent for dissolving mineral deposits and adding shine.
- Soft sponge or cloth: To avoid scratching the surface.
- Microfiber towel: For drying and buffing the sink.
- Olive oil: Optional, for a shiny finish.
Step-by-Step Cleaning Process
Step 1: Clear and Rinse the Sink

Start by removing any dishes or debris from the sink. Rinse the sink with warm water to wash away loose dirt and particles. This initial rinse will make the cleaning process more effective.
Step 2: Apply Dish Soap and Scrub
Add a few drops of mild dish soap to a soft sponge or cloth. Gently scrub the entire sink, paying special attention to areas around the drain and edges. Avoid using steel wool or abrasive pads, as they can scratch the stainless steel surface.
Step 3: Tackle Stubborn Stains with Baking Soda
For tough stains or stuck-on food, sprinkle a layer of baking soda across the sink. Using a damp sponge, scrub the baking soda in a circular motion. The gentle abrasive action of baking soda will help lift stains without damaging the finish.
Step 4: Remove Mineral Deposits with Vinegar
If you notice water spots or mineral deposits, spray a solution of equal parts white vinegar and water onto the affected areas. Let it sit for a few minutes, then wipe it clean with a soft cloth. Vinegar naturally dissolves mineral build-up and leaves your sink shiny.
Step 5: Rinse and Dry Thoroughly
After cleaning, rinse the sink thoroughly with warm water to remove any remaining soap or cleaning agents. Dry the sink with a microfiber towel to prevent water spots and maintain its shine.
Step 6: Optional Shine with Olive Oil

For an extra shine, apply a small amount of olive oil to a clean, dry cloth. Buff the sink in the direction of the grain to enhance its luster and create a protective barrier against water spots and fingerprints.
Tips for Maintaining Your Stainless Steel Sink
- Avoid Harsh Chemicals: Steer clear of bleach and harsh chemical cleaners, as they can damage the stainless steel finish.
- Use a Sink Grid: A sink grid can protect the bottom of your sink from scratches and dents caused by heavy pots and pans.
- Rinse Regularly: After using the sink, give it a quick rinse to remove food particles and prevent staining.
- Dry After Use: Wipe the sink dry after each use to minimize water spots and keep it looking pristine.
Conclusion
Cleaning a stainless steel sink is a simple task that can make a significant difference in your kitchen’s appearance and hygiene. By following these steps and incorporating regular cleaning into your routine, you can ensure your stainless steel sink remains a gleaming centerpiece in your kitchen for years to come.