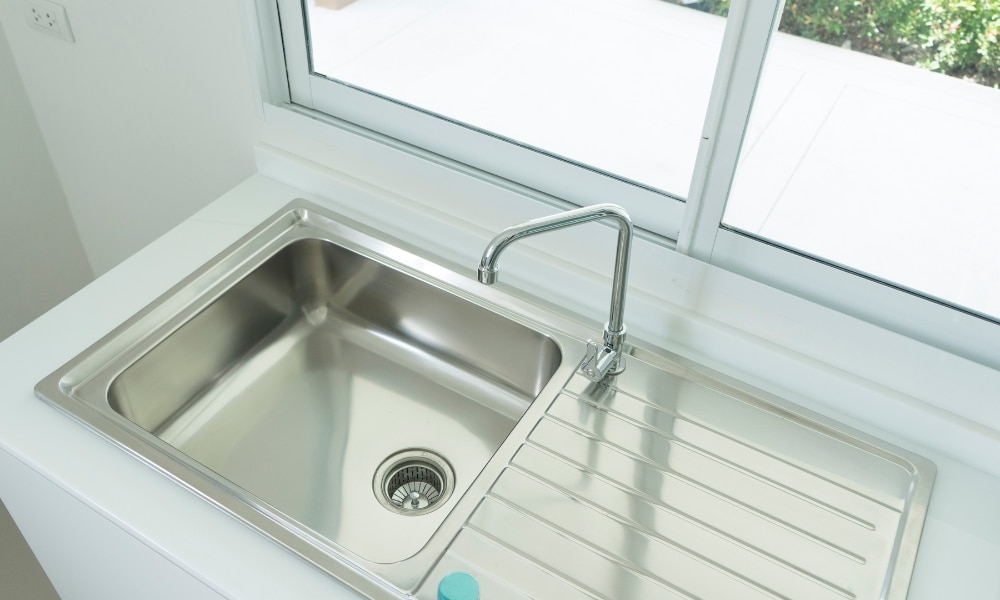
A sink stopper is a convenient fixture that helps control the flow of water in your sink. However, over time, it may become clogged with debris, leading to poor drainage or complete blockage. Removing and cleaning the sink stopper can restore proper drainage and ensure your sink functions smoothly. In this guide, we’ll walk you through the steps to remove a sink stopper, whether you’re dealing with a pop-up stopper or a lift-and-turn type.
Tools You’ll Need:
- Adjustable wrench or pliers
- Screwdriver (flathead or Phillips, depending on your stopper)
- Bucket or container
- Gloves (optional)
Step-by-Step Guide
Step 1: Clear the Area
Before you begin, clear out any items stored under the sink to give yourself ample space to work. Place a bucket or container beneath the sink to catch any water that might spill during the process.
Step 2: Identify Your Sink Stopper Type
There are different types of sink stoppers, but the most common ones are pop-up and lift-and-turn stoppers. Identifying which type you have will help you understand how to remove it.
- Pop-Up Stopper: This type is operated by a lever or knob usually located behind the faucet. When you push or pull the lever, the stopper moves up or down.
- Lift-and-Turn Stopper: This type is rotated to lift or lower the stopper. It often has a small screw on the top or a knob that you can turn.
Step 3: Disconnect the Stopper Mechanism
- Locate the Pivot Rod: Underneath the sink, you’ll find a pivot rod connected to the drainpipe. This rod controls the movement of the pop-up stopper.
- Detach the Pivot Rod: Use an adjustable wrench or pliers to unscrew the nut holding the pivot rod in place. Once the nut is loose, gently pull the rod out of the drainpipe. This will disengage the stopper mechanism.
- Remove the Stopper: With the pivot rod disconnected, you can now lift the stopper out of the sink. If it’s stuck, try wiggling it gently or using a flathead screwdriver to pry it out.
Step4: Remove the Stopper
- Unscrew the Stopper: If your stopper has a small screw on the top, use a flathead or Phillips screwdriver to loosen it. Some lift-and-turn stoppers don’t have visible screws; in this case, you can try rotating the stopper counterclockwise to unscrew it.
- Lift the Stopper: Once the screw is loosened or the stopper is unscrewed, you can lift it out of the drain. If it’s tight, you might need to wiggle it a bit to free it.
Step 5: Clean the Stopper and Drain
With the stopper removed, take this opportunity to clean it thoroughly. Use warm, soapy water and a brush to remove any gunk or debris. You can also clean the drain opening to ensure smooth water flow.
Step 6: Reassemble the Stopper
After cleaning, reinsert the stopper into the drain. If you have a pop-up stopper, reattach the pivot rod and tighten the nut with your wrench. For lift-and-turn stoppers, simply screw it back into place and tighten the top screw if necessary.
Step 7: Test the Stopper
Test the stopper to ensure it’s working properly. For pop-up stoppers, move the lever or knob to see if the stopper goes up and down smoothly. For lift-and-turn stoppers, check that it rotates easily and seals the drain when turned.
Conclusion
Removing a sink stopper is a relatively simple task that can help you maintain a clean and functional sink. By following these steps, you can easily remove and clean your sink stopper, ensuring that your sink drains properly and efficiently. Regular maintenance will prevent clogs and keep your sink in top shape for years to come.


